Learn how to install a projector screen like a pro with our comprehensive guide. From choosing the perfect location to mounting your screen securely, we’ll walk you through each step of the process to ensure a flawless setup for your home theater or presentation space. Start enjoying immersive movie nights and impressive presentations with our expert tips on installing a projector screen.
Step 1: Choose the Perfect Location
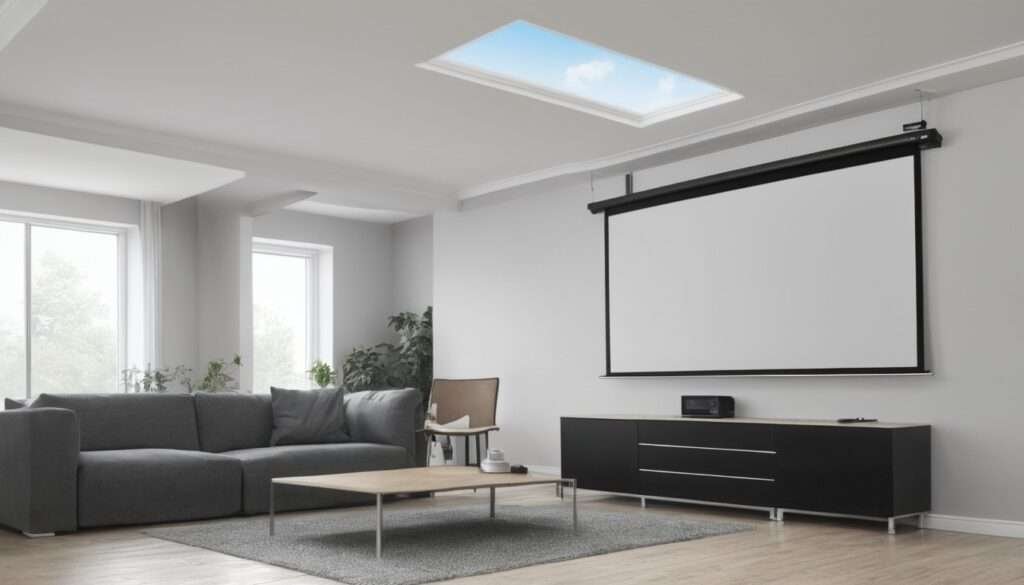
The first step in installing a projector screen is selecting the ideal location. Consider factors such as room size, viewing angle, and ambient light to determine the best placement for optimal viewing experience.
Step 2: Measure and Mark the Area
Once you’ve chosen the location, measure the area to ensure the screen will fit correctly. Use a level and pencil to mark the mounting points on the wall or ceiling, ensuring they are aligned and level.
Step 3: Prepare the Mounting Surface
Before installing the screen, prepare the mounting surface by cleaning it and ensuring it’s free of any debris. This will help ensure a secure and stable installation.
Step 4: Install the Mounting Brackets
Next, install the mounting brackets according to the manufacturer’s instructions. Use appropriate hardware and tools to secure the brackets firmly to the wall or ceiling.
Step 5: Mount the Projector Screen
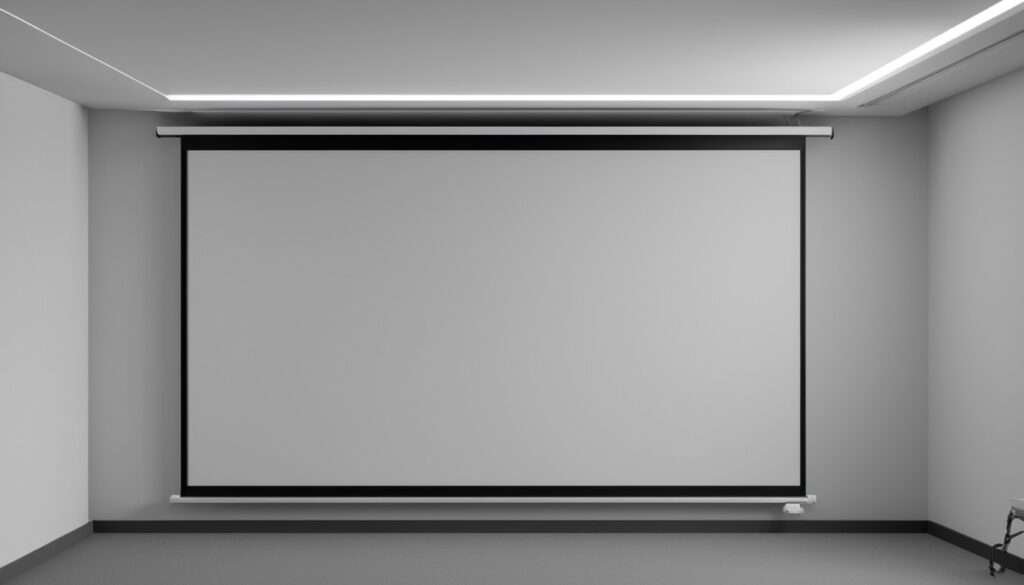
With the mounting brackets in place, carefully mount the projector screen onto the brackets. Follow the instructions provided with the screen to ensure proper alignment and secure attachment.
Step 6: Adjust the Screen Position
Once the screen is mounted, make any necessary adjustments to ensure it’s level and properly positioned for optimal viewing. Use a level and measuring tape to double-check alignment.
Step 7: Test and Fine-Tune
Finally, test the projector screen to ensure everything is working correctly. Adjust the screen tension and positioning if necessary, and make any final tweaks to optimize the viewing experience.
FAQ:
Q1: Can I install a projector screen by myself, or do I need professional help?
A1: While installing a projector screen can be done DIY-style, it may require some technical know-how, especially when dealing with ceiling mounts or larger screens. If you’re unsure, it’s always a good idea to seek professional assistance.
Q2: What tools will I need to install a projector screen?
A2: The tools required may vary depending on the type of mounting system and screen you have. However, common tools include a drill, screwdriver, level, measuring tape, and pencil.
Q3: How do I know if the screen is positioned correctly for optimal viewing?
A3: The screen should be positioned at a height and angle that allows for comfortable viewing from all seating positions in the room. Use a projector to test the screen position before finalizing the installation.
Conclusion:
Installing a projector screen may seem daunting, but by following these seven steps, you can ensure a hassle-free installation process. Remember to choose the perfect location, measure and mark the area, prepare the mounting surface, install the mounting brackets, mount the screen, adjust the position, and test and fine-tune for the best results. With the right guidance and attention to detail, you can enjoy a flawless viewing experience in your home theater or presentation space.